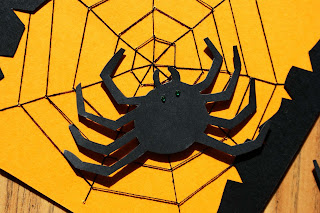
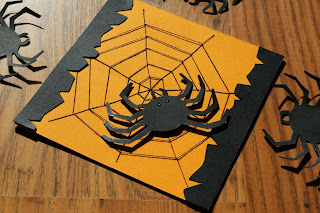
The instructions on how to make the Halloween
Creepy Spider card are in my previous posting. Here I will show you how
to make the spider for this card. See further bellow.
To make Halloween Creepy Spider card you will need: (card instructions in the previous posting)
I have set up and online shop - CRAFT MAGIC ONLINE SHOP- on my blog (top right corner). You can now purchase many crafting supplies right here. The shop is powered by Amazon, so you would be making the purchase through Amazon. I have just selected (and sorted into various categories) crafting products that Amazon sells. My blog's shop is divided into 2 parts; one offers paper crafting and scrapbooking supplies and the other one is for crafty kids and offers variety of beautiful crafty kits and products designed for children.


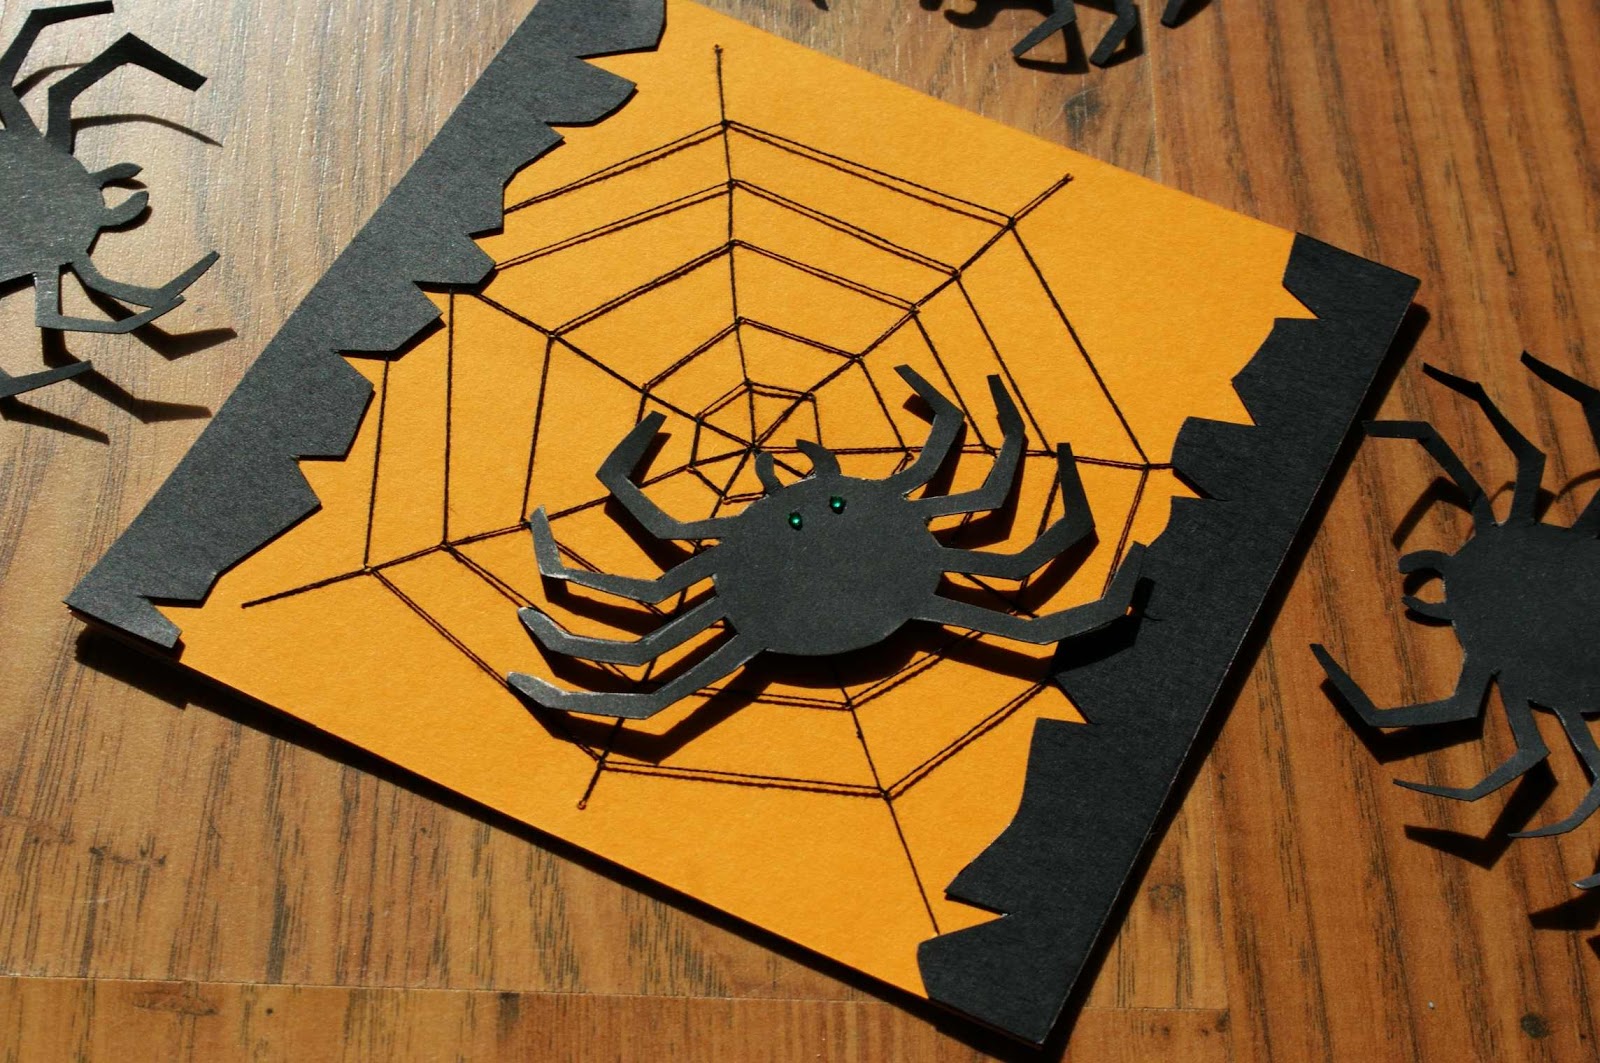
To finish the spider, attach 2 small green adhesive gems to the spider as eyes.

To make Halloween Creepy Spider card you will need: (card instructions in the previous posting)
- White card paper (15 x 30cm)
- Orange card paper (15 x 15cm)
- Black card paper (approximately 15 x 15cm)
- 2 green adhesive gems (I used gems 2mm thick)
- Black stranded cotton thread and needle (or an ordinary black sewing thread)
- Double sided tape
- Craft foam pads (I used Stix 2mm thick)
I have set up and online shop - CRAFT MAGIC ONLINE SHOP- on my blog (top right corner). You can now purchase many crafting supplies right here. The shop is powered by Amazon, so you would be making the purchase through Amazon. I have just selected (and sorted into various categories) crafting products that Amazon sells. My blog's shop is divided into 2 parts; one offers paper crafting and scrapbooking supplies and the other one is for crafty kids and offers variety of beautiful crafty kits and products designed for children.

I took pictures at various stages of making the spider for my Halloween Creepy Spider card. This should make it easier.

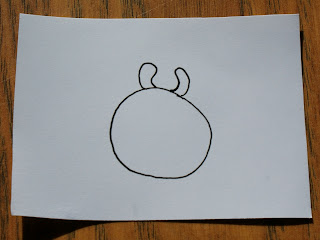
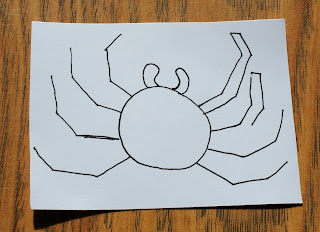
Draw a circle. Make is about 5 cm diameter circle to make a spider for this card.

Add spider jaws as seen in the picture above.

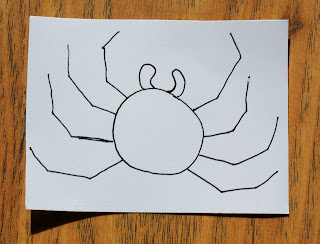
Draw 8 legs as seen in the picture above. Leave some space between each leg.

Ad thickness to each leg as seen in picture above.


To finish the spider, attach 2 small green adhesive gems to the spider as eyes.
:) greetings to my blog's new member. thank you for joining.
ReplyDelete